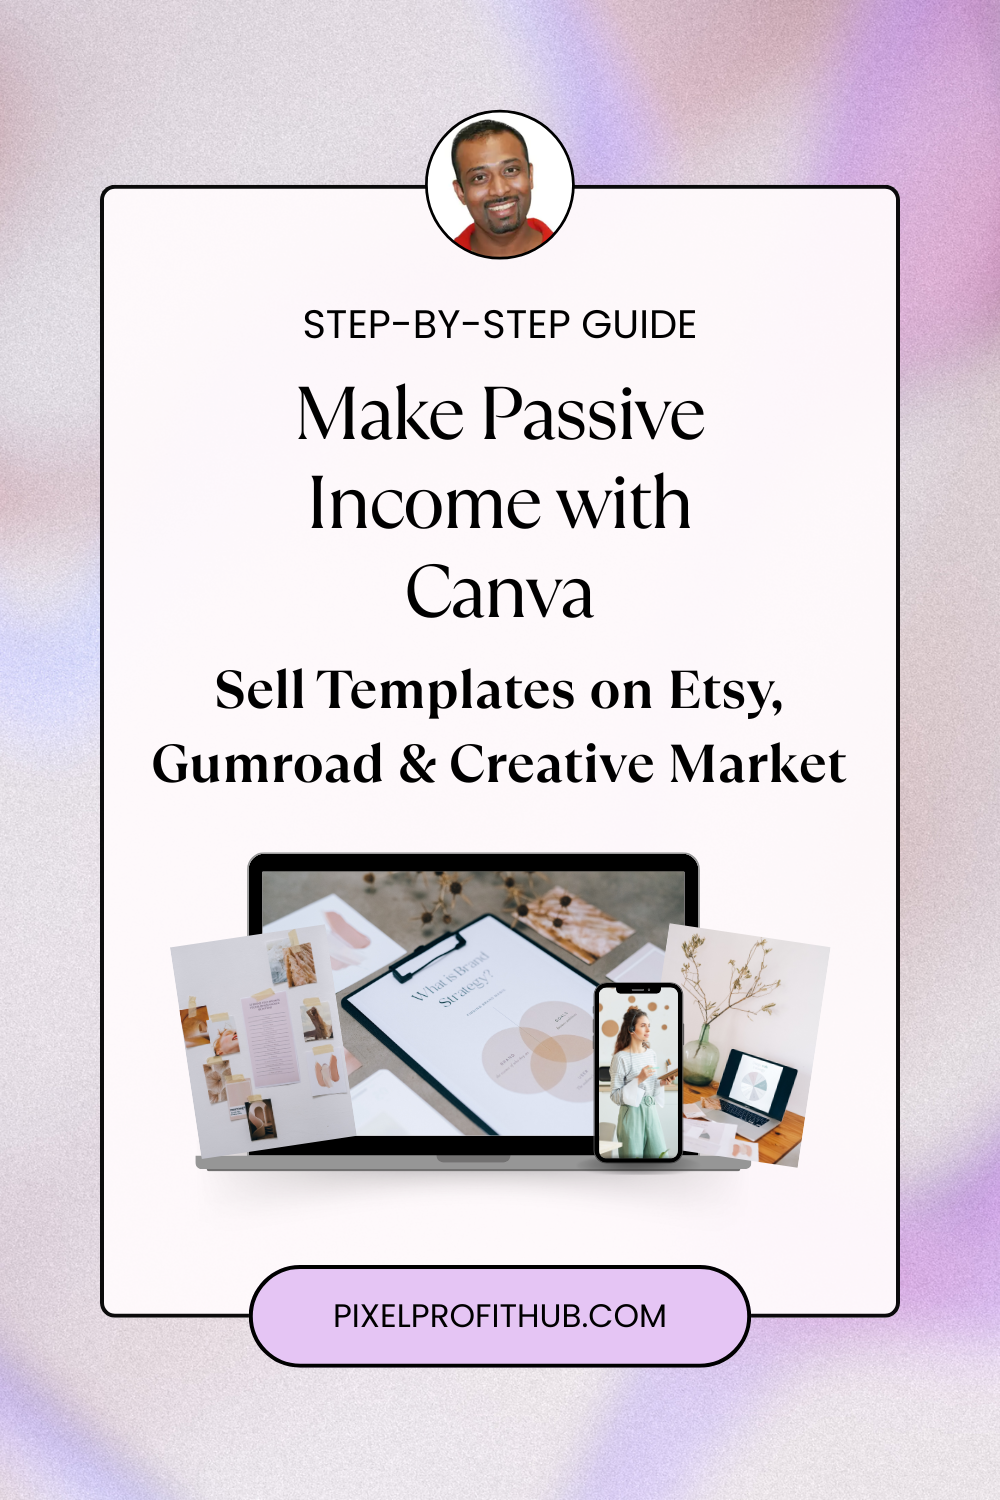
Introduction
Turning your creativity into a consistent income stream is no longer reserved for professional designers or large agencies. With tools like Canva, anyone can create high-quality digital products and sell them globally with minimal upfront investment.
Whether you’re designing social media templates, planners, business kits, or digital downloads, platforms like Gumroad, Etsy, and Creative Market make it easier than ever to reach paying customers.
In this step-by-step guide, you’ll learn how to:
1. Set up your Canva workspace for efficiency
2.Create original, high-demand designs
3.Choose the right platforms to sell your products
4.Price, promote, and scale your digital product business.
Whether you’re starting from scratch or looking to grow your existing store, this guide will give you a clear roadmap to turn your Canva designs into a profitable online business.
What You Will Need
Step 1: Set Up Your Canva Workspace
Step 2: Create Original, Marketable Designs
Step 3: Export Your Canva Files for Sale
Step 4: Choose Your Selling Platforms (Gumroad, Etsy, Creative Market)
Step 5: Set Up Your Accounts and Seller Profiles
Step 6: Upload and List Your Canva Designs
Step 7: Price Your Designs Strategically
Step 8: Promote Your Listings and Build an Audience
Step 9: Manage Sales, Deliver Files, and Provide Customer Service
Step 10: Monitor Performance and Optimize Your Store
What You Will Need
Before jumping headfirst into selling your Canva creations, organizing your essentials helps you glide through the process stress-free. Think of it as gathering your tools before cooking a meal—having them ready keeps things smooth and fun. Plus, prepping ahead means you can focus on the creative and business side without scrambling for missing pieces.
Canva Account: Set up either a free or Pro Canva account to access the design tools and export options you’ll need. Pro offers handy extras like transparent backgrounds and brand kits, but the free version still packs plenty of punch for selling digital assets. Having your Canva profile ready and familiar will dramatically speed up your design workflow.
Design Software for File Management: A simple file organizer or folder system on your computer helps keep exported files neat and easy to upload. Bonus points if you have a basic image editor (like Photoshop or GIMP) in case you want to tweak exports for polish before selling. Consistent file naming conventions save headaches down the line.
Seller Accounts on Marketplaces: Accounts on Gumroad, Etsy, and Creative Market are essential, each with a slightly different vibe and rules. Setting them up beforehand lets you jump into listing your designs without waiting, and you can explore each platform’s nuances at your own pace. Ensuring your payment and tax info is all squared away now avoids embarrassing hiccups later.
Product Mockup Templates: Attractive mockups showcase your Canva designs at their best, turning bland previews into eye-catching visuals. Sites like Placeit or Canva itself offer mockup templates so your buyers can envision how the design looks in real life—think digital prints on walls or planners on desks. Great mockups catch wandering eyeballs and spark more sales.
Basic Product Descriptions and Keywords: Preparing short, catchy product descriptions with relevant keywords helps your listings shine on search engines and within marketplaces. This effort makes your designs discoverable by eager buyers hunting for something just like yours. Keywords are the secret sauce to digital sales success.
Having this kit assembled before you start puts you in control and lets you focus on crafting and selling. It’s like prepping ingredients before cooking—a bit of work upfront yields smoother, tastier results.
Step 1: Set Up Your Canva Workspace
Getting your Canva workspace ready is the digital equivalent of tidying your desk before jumping into a project. You want quick access to everything without distraction or hunting for tools. Think of it as clearing mental clutter so creativity flows freely and efficiently as you begin creating designs for sale.
Type your paragraph here
Create Brand Folders – Organize your projects into folders based on themes, niches, or products—like wedding invites, social media templates, or planners. This helps your workflow stay razor-sharp and makes updates a breeze. Plus, if you build collections for your stores, folders mirror those groupings perfectly.
Use Brand Kits or Templates – If you’re a Canva Pro user, setting up brand kits with brand colors, fonts, and logos ensures consistency across your designs, which buyers notice and appreciate. Develop reusable templates to speed your design process and keep things uniform. This doubles as prepping assets for repeat customers or product bundles.
Adjust Your Canvas Sizes to Platform Norms – Set your Canva documents to popular selling sizes—like 8.5×11 inches for printables or Instagram story dimensions for social media packs. This little detail saves time resizing later and matches buyers’ expectations for easy printing or use. Measuring twice and cutting once applies here digitally.Having a primed workspace means your creativity won’t get bogged down by admin tasks. The smoother your setup, the quicker you crank out designs ready to find new homes.
Professional TipsSet Up Keyboard Shortcuts – Learn or customize shortcuts within Canva to speed repetitive tasks like duplicating elements or grouping layers. This saves precious minutes during long design sessions, keeping your hands and ideas moving fast. Less clicking means more creative flow.
Color Code Your Folders – If you’re juggling multiple projects, color-coding folders visually helps grab the right files quickly. This small organizational hack reduces time spent scrolling and clicking around, making your workflow more intuitive and satisfying.
Save Master Copies – Always keep a master copy of original files untouched for each design. When you create variations or personalized versions, duplicating from the original prevents accidental overwrites and preserves your initial assets for future reuse.
Pro Setup Insights
Set Up Keyboard Shortcuts
Learn or customize shortcuts within Canva to speed repetitive tasks like duplicating elements or grouping layers. This saves precious minutes during long design sessions, keeping your hands and ideas moving fast. Less clicking means more creative flow.
Color Code Your Folders
If you’re juggling multiple projects, color-coding folders visually helps grab the right files quickly. This small organizational hack reduces time spent scrolling and clicking around, making your workflow more intuitive and satisfying.
Save Master Copies
Always keep a master copy of original files untouched for each design. When you create variations or personalized versions, duplicating from the original prevents accidental overwrites and preserves your initial assets for future reuse.
Smart Add-Ons to Consider
Create Mood Boards
Before designing, gather color swatches, images, and fonts into a Canva mood board. This sparks inspiration and keeps your style consistent. Plus, mood boards can become sales materials themselves or social content.
Use Canva’s Content Planner
For social media sellers, leverage Canva’s content planner to schedule promotion posts concurrently with product creation. This integrates selling and marketing in one spot, making your life simpler.
Experiment with Canva Apps
Explore Canva’s inbuilt apps like photo effects or pattern generators to add unique touches to your designs. Unique aesthetics help your listing stand out in crowded marketplaces.
Step 2: Create Original, Marketable Designs
Delving into design isn’t just about crafting pretty pictures—it’s about creating things people genuinely want to buy. That means originality, utility, and a pinch of trend-savvy magic all stirred together. The better you know your audience, the easier it becomes to whip up designs that sell themselves.
Research Popular Niches and Trends
Use sites like Etsy’s trending section, Creative Market bestsellers, or Pinterest to discover what styles, themes, and types of designs are buzzing right now. Pay attention to seasonal peaks too—holiday templates or back-to-school planners bloom at certain times. Riding the wave of trends puts you ahead in exposure.
Design for Practical Uses
Focus on creating files buyers can actually use: printable planners, social media templates, party invites, logos, or digital stickers. Functionality raises your value, making purchase decisions easier. The phrase “pretty but useless” won’t score repeat customers here.
Ensure Design Originality and Legal Safety
Avoid copying existing designs or using elements without proper licensing—not just because it’s wrong, but to keep your shop safe from copyright claims. Use Canva’s licensed elements, or create your own graphics and fonts. Original work builds trust and reputation.Consistency is key; aim to develop a recognizable style that keeps buyers coming back. Remember, each design you produce is part of your entrepreneurial footprint.
Design Strategy Essentials
Follow Design Principles
Balance, contrast, alignment, and repetition are your friends—they turn good ideas into great products. Applying classic rules makes your work look polished without heavy lifting.
Use High-Resolution Elements
When adding photos or illustrations, make sure they’re crisp and clear for printing or digital use. Blurry or pixelated assets kill professionalism and deter buyers.
Test Usability
Download and open your design files on various devices or printers to ensure everything looks good everywhere. Testing avoids refunds and bad reviews.
Creative Expansion Ideas
Bundle Complimentary Designs
Group sets like “Instagram Story + Highlight Covers + Post Templates” to offer more value and upsell. Bundles attract bigger sales with less hassle.
Create Customizable PDFs
Add editable PDF options so buyers can personalize without needing Canva accounts. This opens doors to less tech-savvy customers.
Add Bonus Tutorials
Include a simple guide or video showing how to customize your designs for beginners. It adds perceived value and reduces buyer hesitation.
Step 3: Export Your Canva Files for Sale
Once your brilliant designs are ready, getting them out there means packaging them just right. The magic is in the file types, sizes, and how you bundle them—think of this as gift wrapping for your digital goodies. The goal is effortless download and flawless usage for your customers.
Choose Suitable File Formats
Export commonly used formats like PDF for printables and PNG or JPEG for digital graphics. PNG is your friend when transparency matters, like logos or overlays. Multiple format options offer buyers flexibility, which enhances satisfaction.
Adjust Export Settings for Quality
Set the resolution to 300 dpi for print materials to keep edges sharp and colors vivid. Lower resolution images might save space but look grainy, which turns off buyers instantly. Also, use Canva’s compression carefully—not too much or quality suffers.
Organize Files into Clear Packs
Group exports logically—by theme, type, or usage. Include a readme or instruction file in your zip if necessary (like tips for printing or editing). Organized files make your store look professional and your buyers feel cared for.Done right, exporting ensures your customers get high-value, hassle-free products that feel polished and trustworthy.
Export Best Practices
Compress Files Without Quality Loss
Use tools like TinyPNG or PDF compressors to reduce file size but keep sharpness. Smaller files are easier for buyers to download, especially on slower connections.
Name Files Clearly
Use descriptive, keyword-rich file names to help buyers navigate easily after purchase. Including your brand name can also boost recognition.
Include Editable Versions
If possible, offer editable Canva template links so buyers can personalize without extra software. This service adds tremendous value and stands out from competitors.
Value-Boosting Extras
Add Printable Instructions
Create a quick guide on printing tips, color profiles, and paper types to help buyers get the best results. It cuts confusion and returns.
Offer Multiple Sizes in One Pack
Include files scaled to common dimensions (e.g., 8×10, A4) to appeal to wider audiences. More convenience, more customers.
Provide Bonus Elements
Throw in extra icons, fonts, or color palette files as little surprises. Small perks build goodwill and encourage reviews.
Step 4: Choose Your Selling Platforms (Gumroad, Etsy, Creative Market)
Deciding where to sell your Canva designs is a bit like choosing a market stall—you want the place with the right crowd, good foot traffic, and fair rents. Each platform has its own quirks and strengths, so picking the right one(s) depends on what you’re selling and how you want to engage with buyers.
Evaluate Platform Audiences
Etsy attracts crafted and handmade enthusiasts, Creative Market serves creatives looking for design assets, while Gumroad is a lazier platform, flexible, perfect for solo sellers with direct email marketing. Know where your target customers hang out and choose accordingly.
Compare Fees and Payouts
Study each platform’s fee structure—listing fees, transaction fees, and payout schedules. Gumroad has straightforward fees with monthly payouts, Etsy charges listing plus transaction fees, and Creative Market takes a higher cut but offers curated exposure. Small margins add up, so budget-wise.
Consider Platform Features
Look for things like analytics dashboards, promotional tools, or community vibes. Etsy and Creative Market foster rich seller ecosystems with support forums, while Gumroad’s simplicity makes setup fast and flexible. The better the toolkit, the easier your business runs. Taking time here saves you from later headaches, ensuring you meet hungry buyers where they already shop.
Platform Selection Guidance
Start With One Platform
Focus your energy on mastering one marketplace before expanding. This reduces overwhelm and lets you fine-tune listings and marketing.
Use Platform Bundles
If managing multiple shops feels daunting, coordinate releases or bundle products across stores with similar branding for efficiency.
Monitor Fee Changes
Keep an eye on platform updates—they sometimes tweak fees, which can affect your pricing and profit. Staying ahead helps avoid unpleasant surprises.
Growth Opportunities to Explore
Cross-Promote Between Platforms
Link your Gumroad shop in Etsy listings or social profiles on Creative Market to funnel traffic across your stores. This creates a network effect.
Test Seasonal Platforms
Try niche-specific marketplaces during holidays or special events for extra sales bursts.
Join Platform Seller Communities
Participate in forums or Facebook groups tied to your selling sites for networking and insider tips.
Step 5: Set Up Your Accounts and Seller Profiles
Your seller profile is like your shop window—it’s how buyers get a first impression and decide whether to trust and buy from you. Setting it up thoughtfully is more important than most people realize. It’s your digital handshake and a chance to show your personality.
Complete Your Profile Thoroughly
Fill out every section including bio, store policies, FAQs, and return procedures. Transparency breeds confidence, which leads to more sales and fewer disputes. A well-written bio that tells your story connects emotionally and sets you apart.
Use Professional Images and Logos
Upload crisp profile photos or logos that reflect your brand style visually. Shoddy or generic images lower perceived professionalism. Think of it like picking an outfit for an interview—first impressions count big.
Set Clear Policies**
Clarify payment, refund, and delivery policies in plain language. Customers appreciate straightforward terms that feel fair and predictable. Avoid legalese or vague wording to reduce confusion and build trust.Building a trustworthy storefront is a small upfront investment that pays dividends in repeat business and solid reviews.
Profile Optimization Tips
Include a Friendly Bio
Let buyers see the human behind the shop by sharing your creative journey or passions. This builds rapport and emotional connection.
Use Relevant Keywords in Profile Text
SEO tricks apply here too—sprinkle keywords related to your niche to improve your store’s discoverability organically.
Keep Contact Info Visible
Make it easy for buyers to reach you with questions or issues. Responsive communication boosts seller ratings.
Branding Enhancements
Add Customer Testimonials
Request and showcase early reviews to build social proof and encourage future buyers.
Offer a Welcome Discount
Use your profile or listings to offer a first-time buyer discount as a friendly invitation.
Create a FAQ Section
Anticipate typical buyer questions and answer them upfront to reduce support asks and improve experience.
Step 6: Upload and List Your Canva Designs
Listing your designs is where the magic starts turning into moolah. Uploading files, writing convincing listings, and organizing products may feel like admin, but it’s your bread and butter for discovery and sales. A well-crafted listing convinces browsers to become buyers.
Prepare High-Quality Thumbnails and Mockups
Use stunning mockups or preview images to show your design in action—this is what catches eyes browsing through countless listings. Crisp, clean images highlight your professionalism and design appeal. Avoid clutter or low-res previews that turn customers away instantly.
Write Clear, Benefit-Driven Descriptions
Focus not just on what your design is but how it helps buyers—time-saving, professional look, customizable ease. Use bullet points to break down features and uses succinctly. Describe file contents, sizes, and compatible software concisely.
Include Relevant Keywords and Tags
Use marketplace-specific keyword research to tag correctly for maximum search visibility. Think like your buyer: what phrases would they type in when hunting for your product? Strategic tagging increases chances of your design appearing in search results.Putting careful thought into your listings differentiates you from the countless sellers who throw files online without much attention to detail.
Listing Optimization Techniques
Use A/B Testing
Try different titles or images and see which versions drive more clicks or sales. Adjust accordingly.
Keep Descriptions Concise but Complete
Too long and readers skim past; too short and they miss info. Find a balanced sweet spot to inform and intrigue.
Update Listings Regularly
Refresh images and copy seasonally or with trends to keep listings fresh and relevant.
Conversion-Boosting Ideas
Create Video Previews
Add short walkthrough videos showing templates in use or customization processes. Videos greatly boost conversion rates.
Offer Bundle Discounts in Listings
Promote deals for buying sets or multiple products together to encourage larger carts.
Link FAQ Within Listings
Direct shoppers to FAQs to immediately resolve uncertainties and improve confidence.
Step 7: Price Your Designs Strategically
Pricing your digital goods demands a mix of market savvy and self-awareness. Price too high, and buyers bounce; too low, and you undervalue your work. Striking a balance maximizes sales and respects your creative effort.
Research Competitor Prices
Scope out what similar sellers charge for equivalent designs on each platform. This sets a realistic baseline and prevents pricing yourself out of the market. Keep in mind that prices vary by platform fees and audience expectations.
Factor in Production and Platform Fees
Remember to account for listing fees, transaction percentages, and taxes so your final take-home remains profitable. Overhead eats away if ignored, turning your passion into a loss leader. Pricing is where business meets art.
Offer Tiered Pricing and Bundles
Create options like single design sales, multi-packs, or premium editable versions to cater to different buyer needs and budgets. Having tiers invites buyers to spend more without pressure. Flexibility often converts curious browsers into committed customers.Smart pricing strategies enhance your income potential while remaining attractive to your target market’s wallet size and vibe.
Pricing Strategy Insights
Use Psychological Pricing
Prices ending in .99 or .95 can feel more approachable and encourage purchases. It’s a subtle nudge that a lot of retailers swear by.
Monitor and Adjust Based on Performance
If sales are sluggish at one price, try small increments down or introduce promotions to test demand sensitivity. Stay responsive to your market
Include Freebies for Higher Tiers
Add bonus files or tutorials as extras at premium tiers to justify higher price points elegantly.
Revenue Growth Ideas
Seasonal Discounts or Sales
Run holiday or event-driven sales to spike traffic and interest periodically. Timing matters almost as much as price.
Create Membership or Subscription Access
Offer exclusive design access through monthly subscriptions for recurring income.
Introduce Limited-Time Launch Prices
Tempt buyers with early-bird pricing to build initial momentum and social proof.
Step 8: Promote Your Listings and Build an Audience
Selling on marketplaces alone can be a bit like fishing in a giant ocean—promotion is your fishing line that actually reels people in. Crafting a marketing vibe around your designs builds relationships and creates repeat customers, beyond simply listing items.
Leverage Social Media Channels
Use Instagram, Pinterest, TikTok, or Twitter to showcase behind-the-scenes content, design tips, and finished products. Tailoring posts to each platform’s style helps attract your ideal buyers casually scrolling the feed. Hashtags and stories connect you with communities hungry for creative inspiration.
Engage With Design Communities
Join Facebook groups, forums, or local meetups where your potential buyers or fellow creatives hang out. Share insights, answer questions, and offer helpful advice without heavy selling. Building genuine connections increases word-of-mouth and trust.
Create an Email List**
Invite interested buyers to subscribe to updates, freebies, or exclusive discounts. Email is a direct line to your best audience, far more personal and effective than social media algorithms. Consistent, valuable emails keep your brand top of mind.Combining promotion with authentic sharing makes your shop feel alive and approachable, leading to better long-term success than just hoping for traffic.
Promotion & Marketing Tactics
Use Scheduling Tools
Automate social media posts with tools like Later or Buffer to maintain a consistent presence without burnout.
Repurpose Content**
Turn one piece of content into blog posts, reels, pins, or newsletters for maximum mileage from your effort.
Run Small Ad Campaigns
Invest modest budgets in targeted ads on platforms where your ideal customers spend time for boosted visibility.
Audience-Building Ideas
Host Giveaways
Run contests offering free downloads or bundles in exchange for follows or shares. It builds buzz and expands reach.
Create Tutorials or Live Streams
Demonstrate design customization or tips live to engage and build trust with your audience.
Collaborate With Influencers
Partner with micro-influencers in your niche for reviews or shoutouts to amplify your audience.
Step 9: Manage Sales, Deliver Files, and Provide Customer Service
Once those orders start rolling in, smoothly handling delivery and customer communication keeps your reputation shiny and customers happy. Digital selling removes shipping hassles but ups the ante on responsiveness and clarity. Think of yourself as both shopkeeper and concierge rolled into one.
Automate File Delivery
Use platform-integrated tools to automatically send download links upon purchase. This instantaneous delivery meets buyer expectations and cuts your workload. Manual file sending wastes time and feels old-school.
Respond Promptly to Questions**
Keep an eye on messages or emails and answer help requests quickly and kindly. Customers appreciate feeling heard and supported, which encourages positive reviews and return visits. Use templates for common queries to save time while staying personal.
Monitor and Address Refunds or Complaints**
Handle refund requests with empathy and fairness, providing solutions like exchanges or tutorials if issues arise. Learning from complaints improves your products and services. A smooth problem resolution can convert unhappy buyers into loyal fans.Good customer care is the secret sauce that transforms one-time buyers into brand ambassadors and steady income streams.
Customer Experience Best Practices
Set Up FAQs and Help Docs**
Reduce your support load by offering clear, accessible answers to common questions right in your listings or website.
Use CRM or Support Software**
If sales volume grows, tools like Zendesk help track inquiries and keep communication organized.
Ask for Feedback**
Invite buyers to review or provide feedback after purchase to improve your offerings and bolster social proof.
Service Improvement Ideas
Create a Dedicated Support Email
Separate sales communication from support requests to streamline response management.
Offer Live Chat Support on Your Website
If you have an independent store as well, live chat provides real-time help and boosts conversion.
Send Thank You Notes**
Include personalized or automated thank-you messages post-purchase to enhance the customer experience.
Step 10: Monitor Performance and Optimize Your Store
Running a digital design business is an ongoing adventure—you need to keep checking what’s working and tweak what’s not to grow. Data is your friend here, offering nuggets of insight hidden in stats and reviews. The more you learn, the better you adapt and thrive in the crowded marketplace.
Track Sales and Traffic Analytics
Dive into platform analytics dashboards to see which products sell best, peak times, and buyer behaviors. Understanding these patterns guides smart decisions on what to promote or improve. Analytics is the backstage pass to your digital store’s health.
Listen to Customer Feedback
Use reviews, messages, and surveys to uncover wants and pain points your listings or products may miss. Real-world input is invaluable for iterative improvement and innovation. Happy customers are your best product testers.
Experiment with Listings and Promotions
Try changing titles, images, prices, or offering discounts to discover what resonates most with your audience. Small, regular tweaks keep your store fresh and appealing. Optimization is a marathon, not a sprint.With each adjustment, your store becomes a better reflection of your savvy and your customers’ desires—an evolving success story you write day by day.
Performance Optimization Strategies
Set Monthly Review Sessions
Put time on your calendar to regularly review performance and plan updates. Routine beats chaos.
Use Heatmaps for Web Shops
If you host a personal shop, heatmaps show how visitors interact with your site, highlighting bottlenecks or hot spots.
Celebrate Small Wins
Recognize growth milestones to motivate continued effort during slow phases. Every sale counts.
Scaling Opportunities
Conclusion
Selling Canva designs online is not just a side hustle—it’s a scalable digital business with long-term earning potential. The key is not just creating beautiful designs, but understanding how to position, price, and promote them effectively.
By leveraging platforms like Etsy for organic traffic, Gumroad for direct sales, and Creative Market for premium audiences, you can build multiple income streams from a single skill.
Consistency, market research, and continuous optimization will separate hobbyists from serious sellers. Start small, refine your process, and scale what works.
If you stay committed and keep improving, your Canva designs can evolve from simple templates into a reliable source of passive income.